Colored Rice Picture
This weekend found me and my boys coloring rice. Don’t ask me why, it would take too long to explain. I will tell you this though, it was lots of fun.
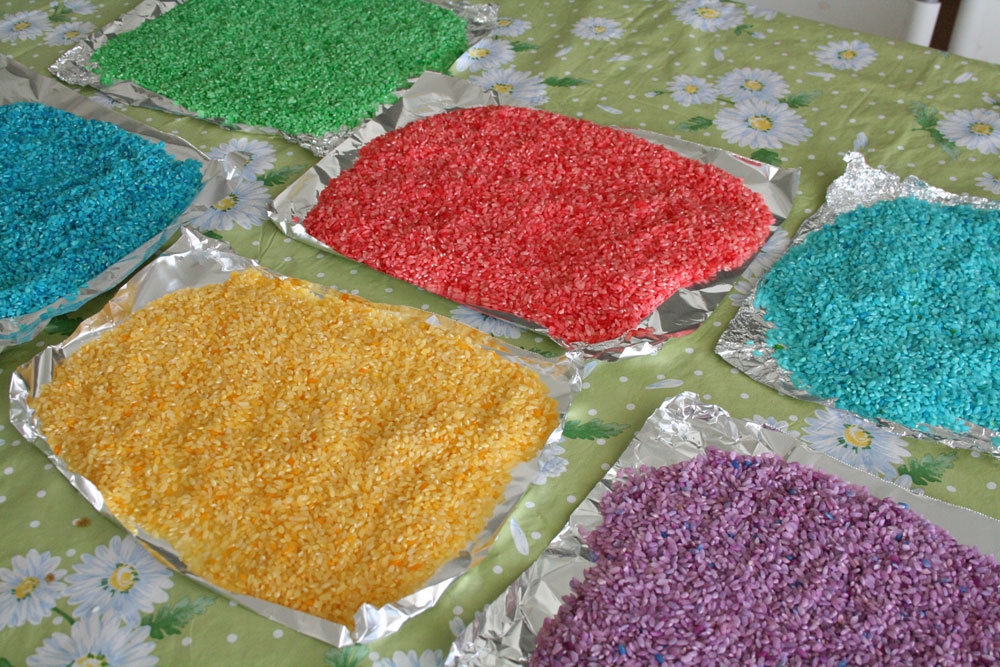 I found my instructions on squidoo. It’s surprisingly easy, essentially you put a couple of cups of rice in a plastic zippy bag. Then you add a few drops of food coloring and a couple of Tbs of water, zip it up and squish to your hearts content. Last you just spread the rice out to dry. A different blog suggested drying out the rice in the oven at 200 degrees for about 15 min. I did use the oven to dry our rice mostly then laid it out to dry the rest of the way. I didn’t take photos of the process, but here’s the rice all laid out to dry.
Pretty, right? I love the vivid colors.
So what do you do with colored rice? Well we made rice pictures (like sand pictures but with rice).
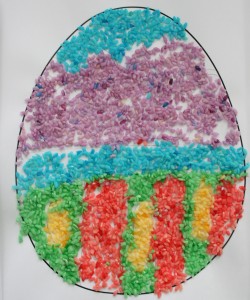
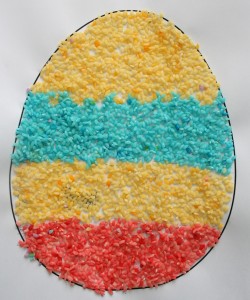
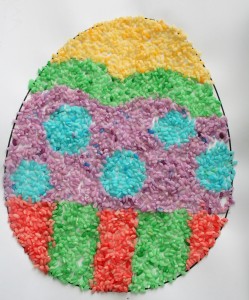
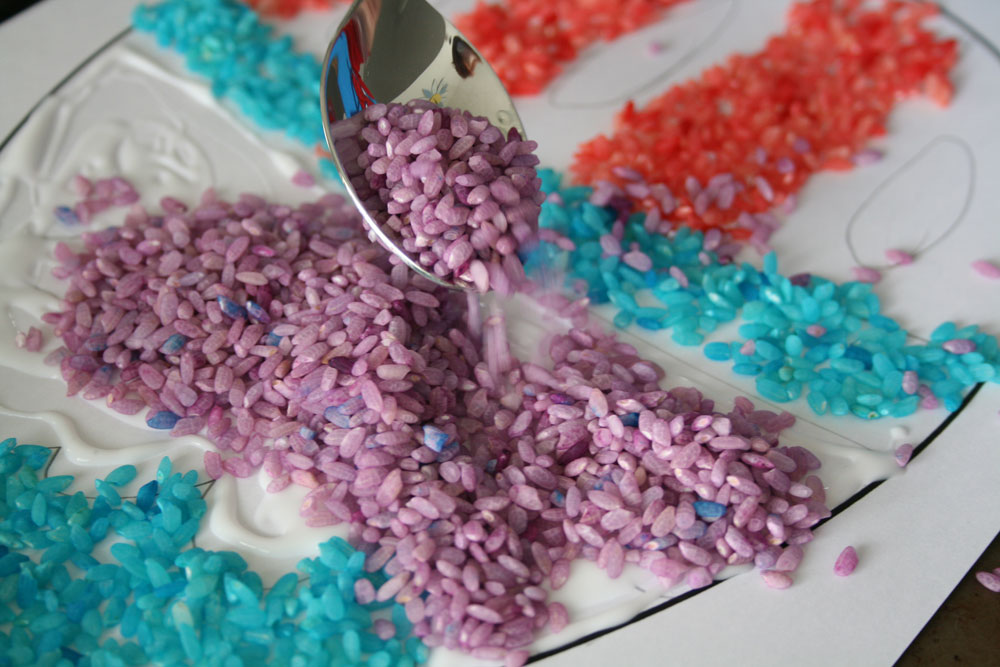
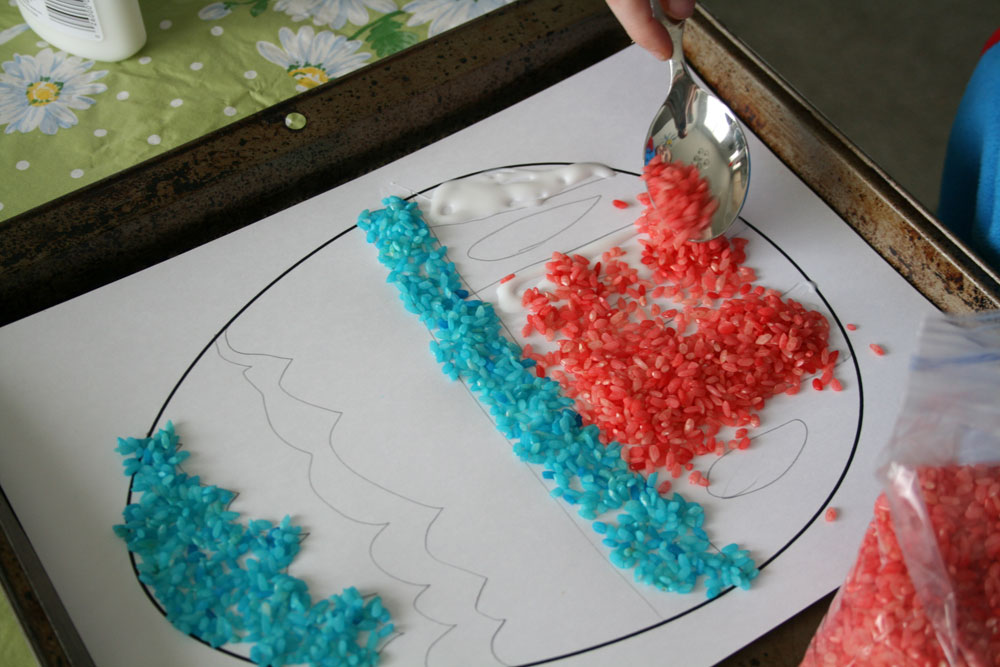
To make our pictures I printed an egg shape (I can’t draw so don’t ask me to). The kids drew lines to show where to put the colors decorate the egg. They used white school glue to fill in the places they wanted color then shook some rice onto the glue. We let one color dry before moving on to the next color. That way the colors stayed where they belonged.
 This was loads of fun and we love the results too. The only problem is that the rice keeps falling off, and the paper warped. How could I fix these problems? Could I spray them with something to make the rice stay put? could I have pressed them with something while drying to make them stay flat? I just don’t know. Any suggestions?
Stay tuned for another colored rice project. It’ll be fun.