Archive for March 2011
The Perfect Frosting
I am on a quest for perfect frosting. I went to a cake decorating class at the church last month and it was so fun. What really got me though was the taste of the frosting. It was sooo good. This inspired my quest. You see I am supposed to be gluten free but that is so hard when faced with a beautiful cake from Costco or some other grocery store. I just love cake with bakery frosting. Now that Betty Crocker has gluten free cake mixes I’m one step closer eating cake with out killing myself but it’s the frosting that I can’t get right. And so begins the quest.
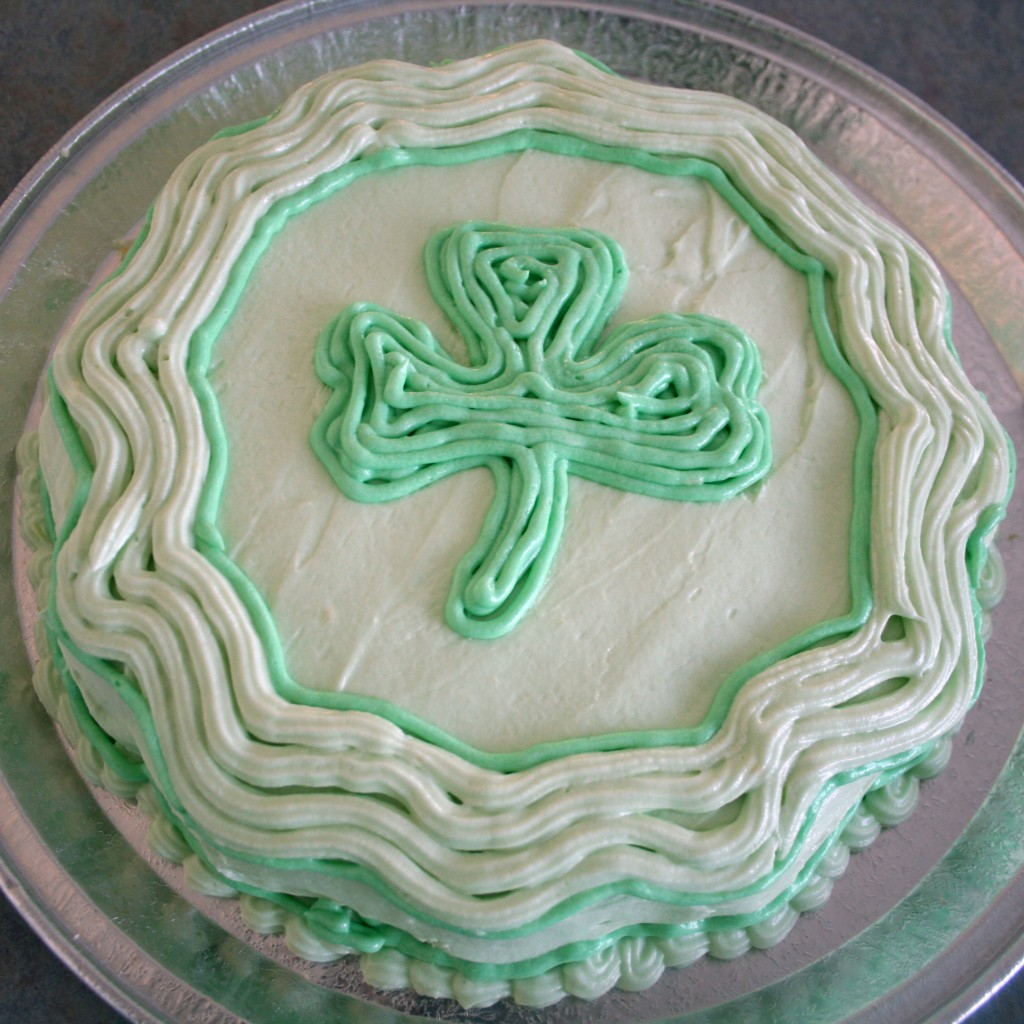
After trying a bunch of recipes I think I have found a winner. Check out my pretty cake:
Obviously I’m no decorator but the frosting tasted divine. I used a recipe I found online I added a teaspoon of meringue powder and a teaspoon of salt. I think I used too much water because the frosting didn’t hold it’s shape. The shape wasn’t all that pretty anyway, I have much to learn. My quest didn’t include learning to decorate though. It was a tasty frosting quest and I think I’m near the end. I have eaten a lot of cake to get there. Do you want a piece? I’m looking for excuses to make more cake so I can try variations on my new frosting find.
Rag Rug
Well my dear blog reader, already I have failed you. I promised a new post every week and last week I did not post. I have no awesome excuse. I have been riddled with guilt but alas, I just didn’t have anything new to post. Was I not crafting? Well not much. Today I am back however and I apologize for my absence.
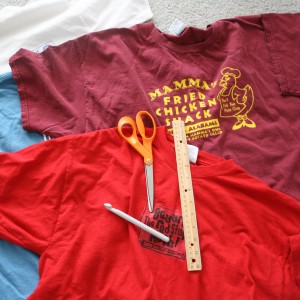
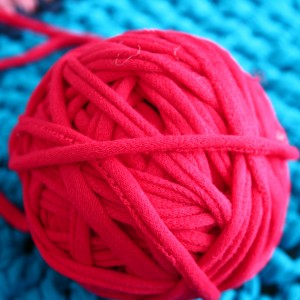
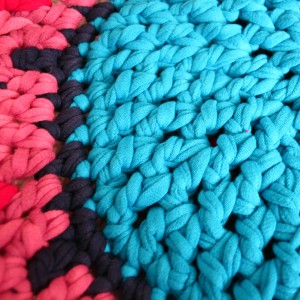
A couple of weeks ago my husband cleaned out his T-Shirt drawer. When he does this it’s like Christmas for me. I love love love to cut up t-shirts to make yarn. Something about the thriftiness of it all thrills me. What I end up with is a whole lot of t-shirt yarn and no project. I decided to start with the least pleasing colors and make a rug. Just to get a feel of the yarn and what it will look like when I work it up. 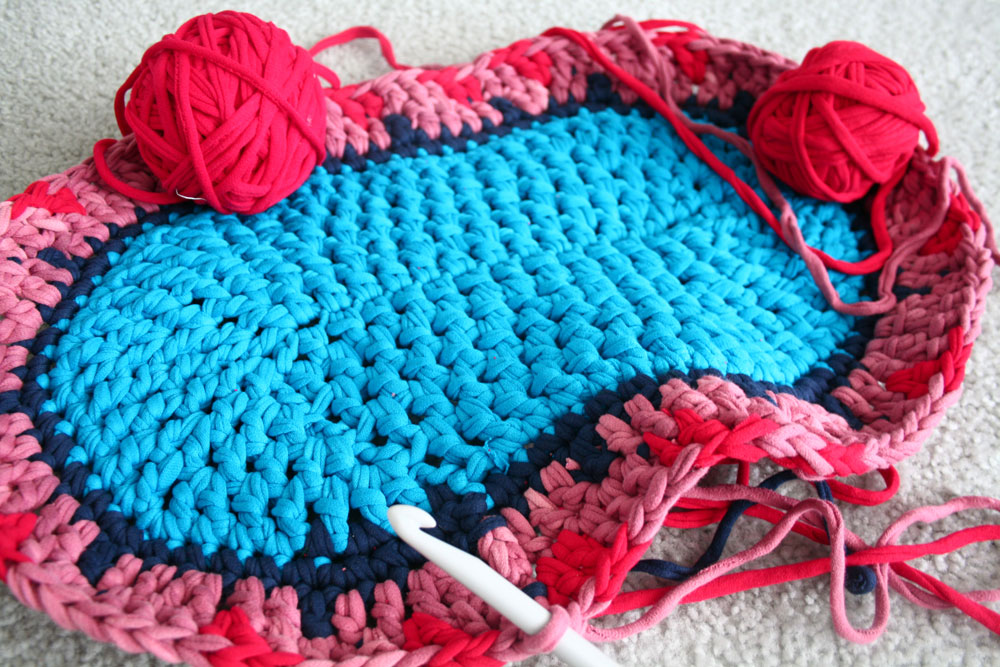
It’s ugly, I know. But it gets me going with other ideas. Want to make your own rag yarn? I was going to make a tutorial but it takes 2 hands to make this stuff and I’m not smart enough to figure out how to take photos at the same time. Why would I repeat what others have done so well anyway? So if you want to make your own t-shirt rag yarn (some people call it tarn…those people are crazy) look at this tutorial by Craft Passion. See how she made a basket at the end? That’s what I’m going to do next with my pretty colors of tarn.
Here are a few more photos to inspire you.
St. Patrick’s Day Wall Hanging
I love St. Patrick’s day. I love it because my favorite color is green. I used to hate it, I’m not a fan of pinching. The point is that I’m excited about this week’s craft because it’s GREEN!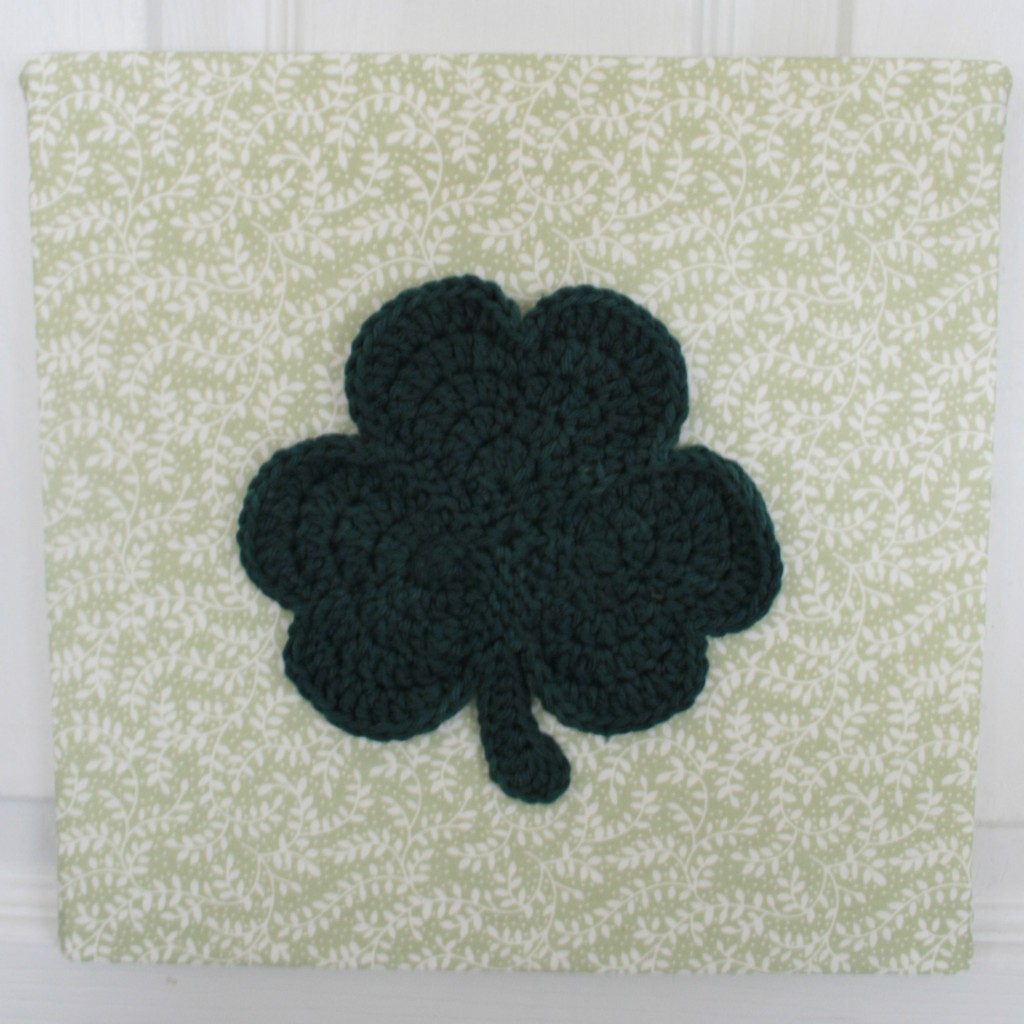
I started with some green cotton yarn (my favorite is Peaches ‘n Cream brand but Walmart stopped carrying it. Jerks replaced it with a brand with a similar name but not similar quality. )
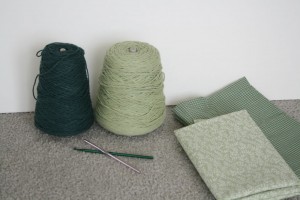 I buy my cotton on cones but I’m sure that you could make this with a couple of balls of one color and one ball of the other.
You will need :
2 Colors of green cotton yarn
H and a G crochet hooks
1/3 a yard of 2 different green printed fabrics
a sheet of foam board
a glue gun.
cut your fabric into 12 inch squares. Two of one color and one of the other color. Then cut your foam board into 10 inch squares. I use foam board because it’s cheap (i get mine at the dollar store), and because it’s light weight. I can hang my finished product with blue putty sticky stuff and no walls are damaged.
I wanted these to look like canvases so I glued together 2 squares of foam board to get a thicker look. Next, using a glue gun I stretched the fabric over the foam board and glued it around the edges on the back.
All you need now are some shamrocks. My large shamrocks were made from a pattern for shamrock potholders designed by Priscilla Hewitt. I made 2 but I only made the front side of them (the pattern tells you to make it double sided). Next I made a whole bunch of little shamrocks using a pattern from Suzies Stuff. They are super fun to make. I glued one big shamrock in the center of two of the squares then glued the little shamrocks on the contrasting square. That’s all. 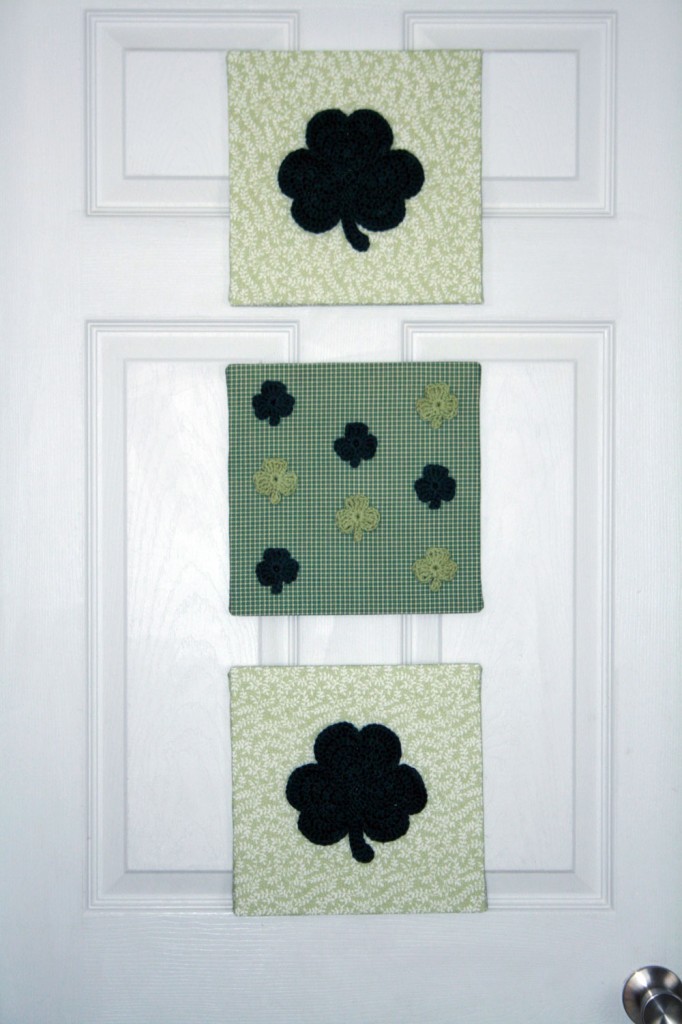 UPDATE: Sorry about my spelling in this post. I really need to proofread better. Also, I love my camera, she’s my dear friend, but sometimes we don’t get along at all. She’s being mean to me lately and we’re working it out together but in the mean time my photos look bad. We both apologize.
